Monday, December 13, 2010

Corner Kisses


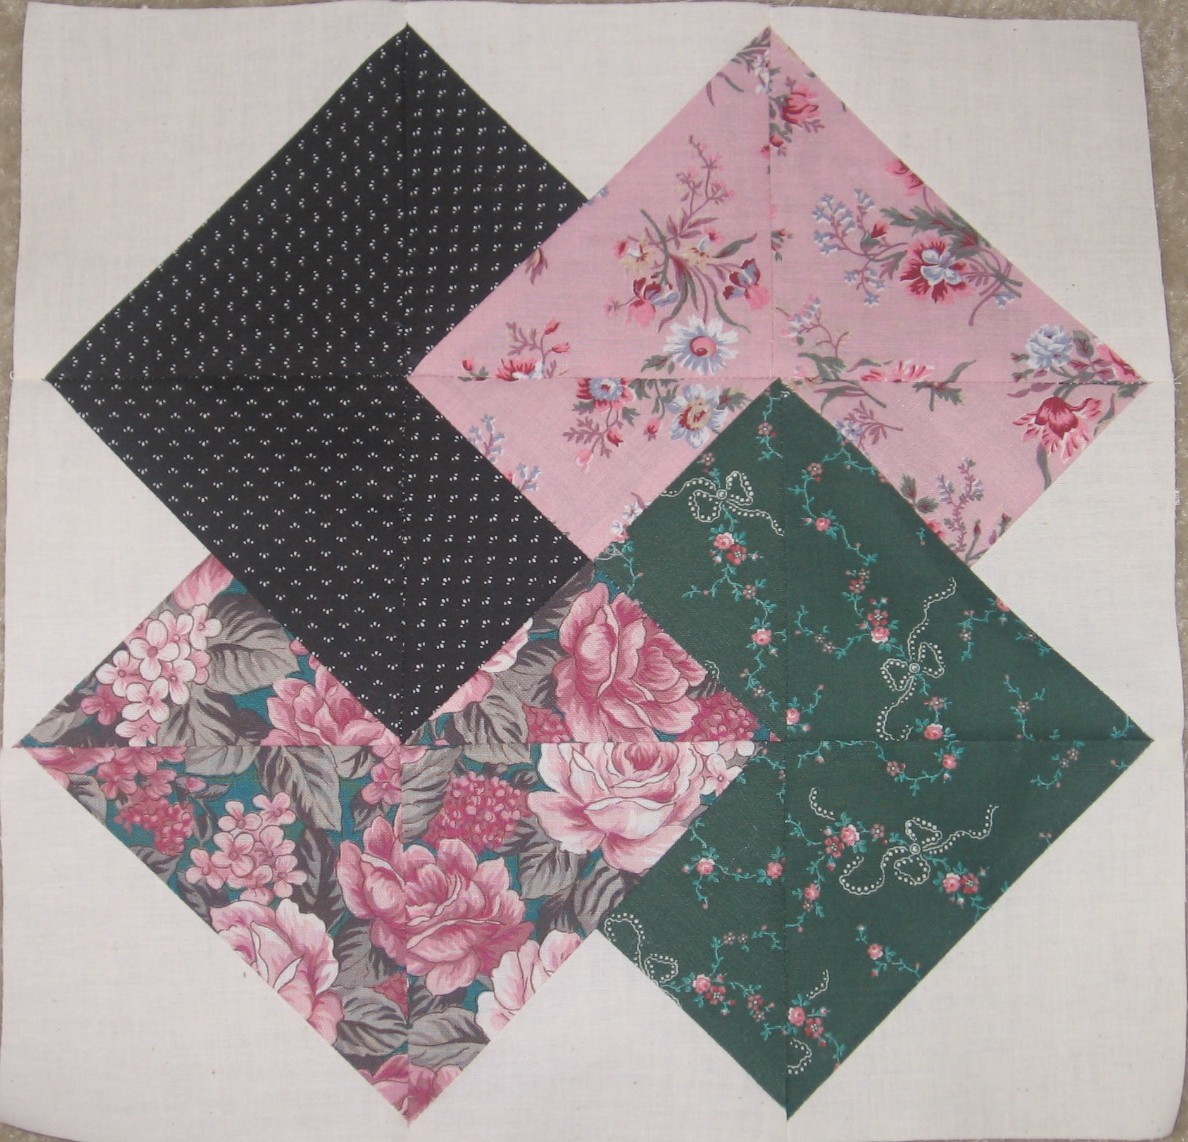
This is a block of my own design, and I sewed it in reds and greens in honor of the Christmas season!


(The fact that I'm using these fabrics in many of my blocks is just a coincidence:) )


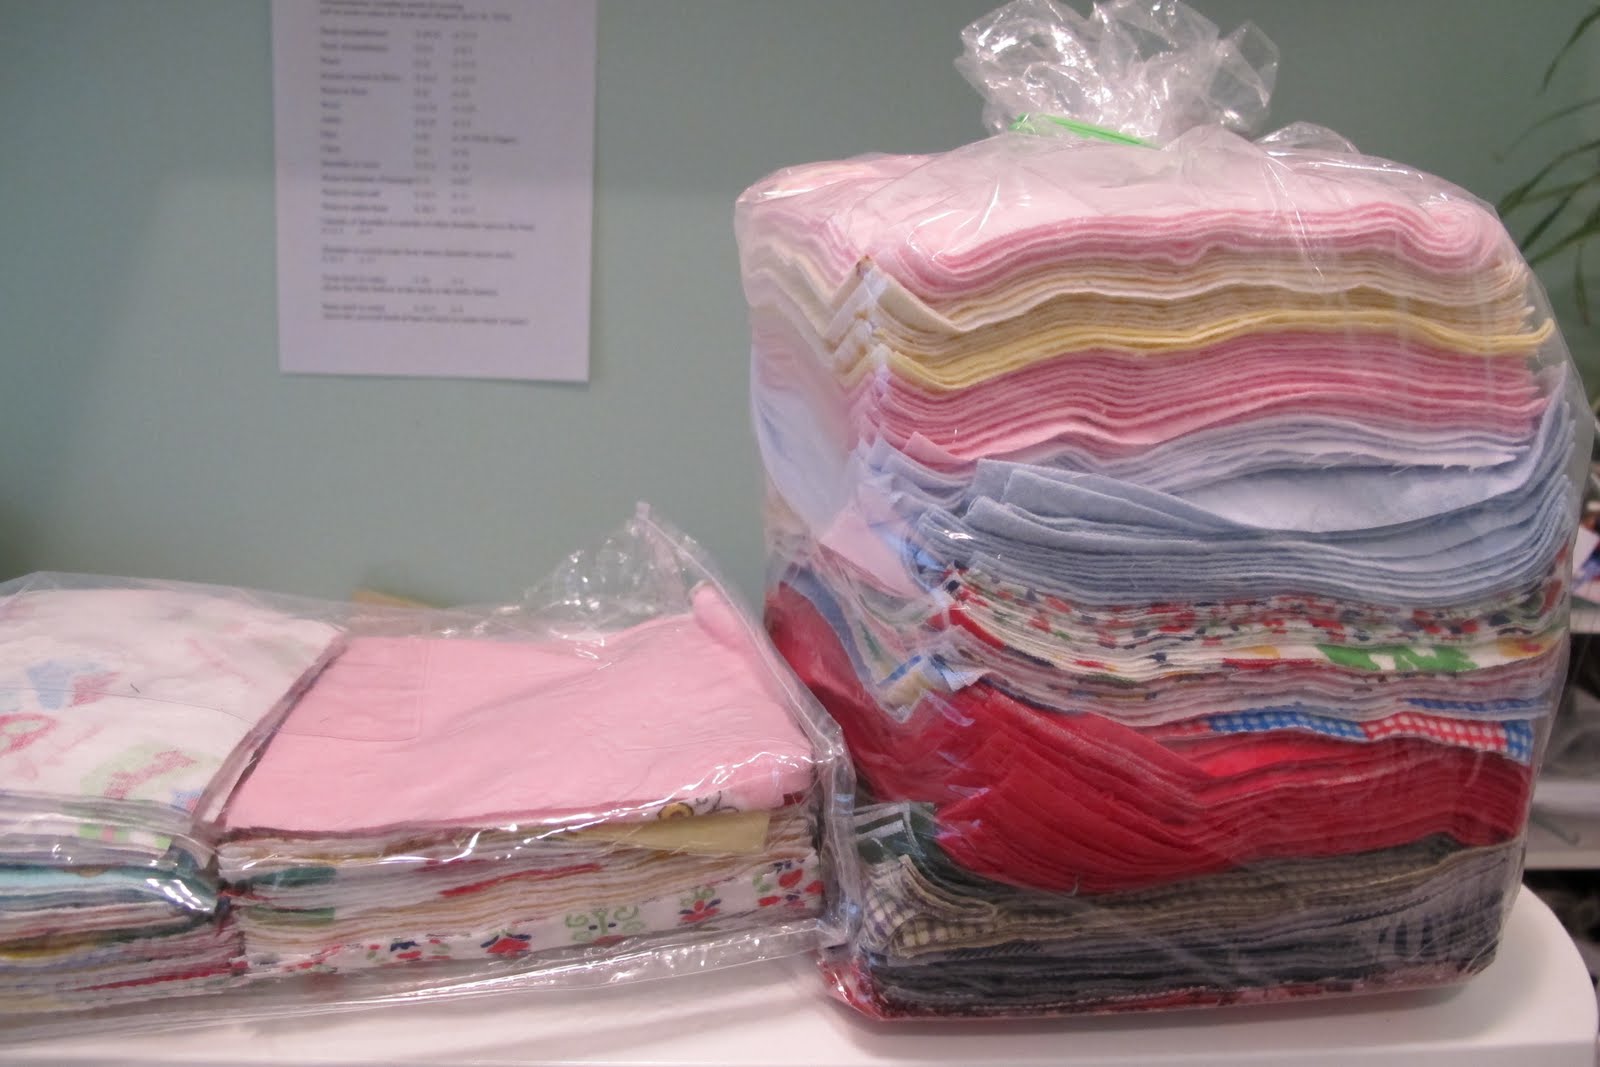
Fabric Requirements:
Light: (1) 4 1/2" square; (4) 2 1/2" squares
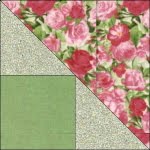
Dark: (8) 2 1/2" squares for making flying geese sections; (4) 2 7/8" squares, cut in half diagonally
Background: (8) 2 1/2" x 4 1/2" rectangles; (2) 5" squares, cut in half diagonally


Always sew scant 1/4" seams on the quilt blocks.
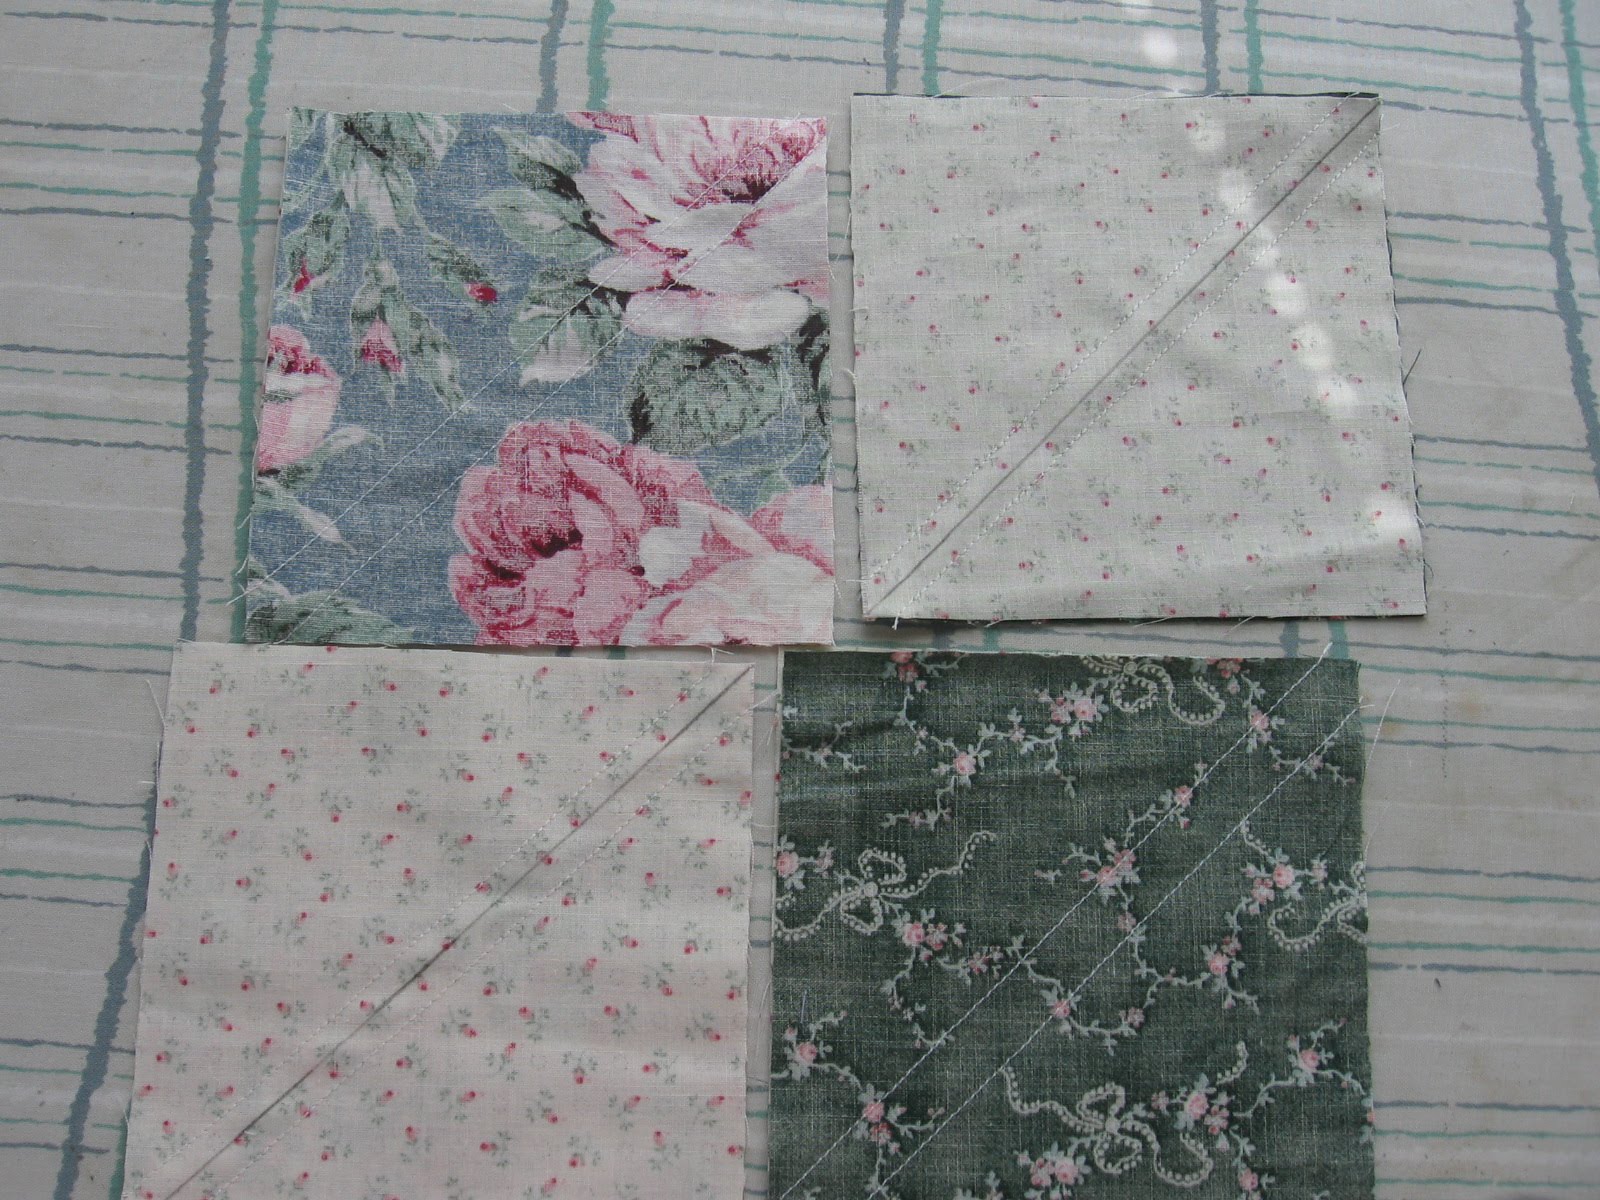
Using the light 2 1/2" squares, sew a dark triangle to the side of each square, press towards the triangle. Sew a second triangle to the square, forming a large triangle. Again, press out towards the triangle piece.


Sew one of the 5" half-square diagonal pieces to the previous piece, forming the corner sections. Press towards the background fabric.


For the flying geese sections, draw diagonal lines on the wrong side of all the little 2 1/2" squares. Lay one of the 2 1/2"squares on top of a 2 1/2" x 4 1/2" rectangle, lining up the outer corners. Sew directly on the diagonal line, or just barely to the side of the line on the outer corner side. Trim the fabric to 1/4" seam allowance on the outer corner. Press out. Line up a second small square on the other side of the rectangle and repeat the sewing and trimming. Press out again. You should now have a finished flying geese section. Make four of these.


Sew each of the flying geese sections to one of the 4 1/2" x 2 1/2" background rectangles, being sure to sew exactly across the X of the stitching on the flying geese section so that the tips will be nice and sharp looking. Press towards the rectangle piece.


Sew a corner section to either side of two flying geese pieces, following the picture placement so that the corner kisses will be shaped right. These will be the top and bottom rows of the quilt block.


Sew the remaining flying geese sections to either side of the 4 1/2" light square. Press towards the center. This is the center row of your quilt block.


Now, line up the rows and sew them all together. Press well. You're done!

Saturday, November 20, 2010

Patchwork


This is what I do with all my flannel scraps. I cut them into 5" or 6" squares, and then sew them all together to make a pieced receiving blanket. I especially enjoy the process of laying all the squares on the floor to get the best arrangement of colors. Depending on the season, I'll choose a plain cotton or more flannel as the backing. And I've learned to put a few seams through the the blanket to hold the layers together. They're more substantive than normal receiving blankets and very satisfying to give as gifts.

Don't throw away those flannel scraps!


Monday, November 8, 2010

Card Trick

This block looks like a 4 patch, but it's really a 9 patch. You will need 4 fabrics and a background. The trick is that a lot of seams are on the bias, so be careful not to stretch the edges!

Cutting Directions:
Background fabric: (2) 5" squares cut once along the diagonal and (1) 5 3/8" square cut twice, once along each diagonal
Fabrics A, B, C, D: (1) 5" square cut once along the diagonal and (1) 3 7/8" square cut along the diagonal. These end up the same size as the 5 3/8" square cut on both diagonals.
 Sewing Directions:
1. Lay all the pieces out according to the picture. It doesn't matter where each fabric is, only that all the pieces are in the right arrangement. You will notice that my block rotates by 90* in future pictures, I got confused trying to put sections back and ended up rotating the block. I didn't realize it until I posted the pictures.
 2. Start sewing the pieces together, starting with the smallest triangles. Sew the center triangles and the smaller ones in the sides. Press all the seams to one side, making sure with the center ones that you press in opposite directions so they lay together nicely.

Hint: I found it easiest to place right sides together in the square and then gather the pairs into a pile with the edge I was to sew on the right, so they were all the same direction at the sewing machine.

 3. Place the sewn triangles back in the square in the right positions. Make sure you have four squares! Then sew the half square triangles together. I also sewed the center together at this point. Press to the darker fabric. Put them back in the design again so you have rows laid out.

You will need to square each piece so that they all measure 4 1/2". Some of mine were 4 3/4", so they really need trimming. Make sure to keep the center in the middle.
 4. Sew each row together and press the seams to one side. Make sure the center row is pressed in the opposite direction as the outer rows.


5. Then sew the rows together, press the final seams, and you are done!

Thursday, October 7, 2010

Better Late Than Never--Hopefully!


Amidst canning, illness, company, work, play, family, etc--you know how it is--the moment finally came to squeeze in the next quilt block. This is a re-working of the very first patch we did—the Kitchen/Rosy Woodbox. Change the color placement and you’ve got a whole new block. The name for this one is Flowerpatch. You’ll find it easy to sew since you’ve already made it once before!

Fabric needed—

Color A (floral):
(2) 4 7/8” squares, cut diagonally to form 4 half-square triangles
(1) 4 ½” square

Color B (medium green):
(4) 2 ½” squares
(4) 2 ½ x 4 1/2” rectangles

Color C (pale green):
(4) 2 7/8” squares, cut diagonally to form 8 half-square triangles
(4) 2 ½ x 4 ½” rectangles

Directions:

1. Using the 2 ½ x 4 ½” rectangles, sew one of colors B and C together, forming four 4 ½” squares. Press seams towards the dark.


2. Sew one of the previously pieced squares to each side of the 4 ½” square of color A. Press seams away from light fabric. Set aside. This is the center row of the block.


3. Using the 2 ½” squares of color C, and the 2 7/8” half-square triangles of color B, sew one triangle to each square, being careful to attach the right angle edge of the triangle, (not the bias cut edge) to the square. Press seams towards the square. Now sew another triangle to each square to form a 4 7/8” pieced triangle. Repeat until you have 4 units.


4. Sew each pieced triangle to one 4 7/8” half-square triangle of color A. Four units. Press seams towards the light fabric.


5. Sew one pieced triangle unit to each side of the pieced squares. These are your top and bottom rows.


6. Sew the rows together, matching seams.


7. Press thoroughly.

Thursday, September 2, 2010

Ohio Star Revisited

The visitor's center on the south end of the Great Smoky Mountains National Park has this beautiful quilt hanging behind the desk. I had to stop a second time just to get pictures to post for you! All the blocks are Ohio Stars, but the fabric selection makes them look very different!
 
I like old quilts because the quilters had different dilemas than I do and tackled them very creatively.  Quilts are so fun to see because each quilter interprets the same ideas in unique ways, no two hand-made quilts will ever be exactly identical.

Thursday, July 22, 2010

4 Point Star

I confess, I love stars! I never seem to get tired of making them. I collect ideas for new star blocks. I have made several star sampler quilts. This block is one I have made a few times. I like it because it's so easy.
You will need background fabric and three prints. Basically, we are making 8 half-square triangle blocks and one quarter-square triangle block.

Cut out:
Print A (green corner triangles): two 5" squares
Background fabric: four 5" squares and draw a diagonal line on the wrong side
Print B (pink star points): one 5" square and one 4" square
Print C (blue floral star points): one 5" square and one 4" square


Using the 5" squares, iron right sides together: one background square to Print B and Print C, two background squares to Print A.

Sew a 1/4" seam on each side of the drawn line on the background squares. Cut on the drawn line and press seam toward the darker fabric (away from the background). Trim the half-square triangle blocks so they measure 4 1/2" square.

The center part: I confess, I tried a new method and it made two blocks instead of one, so I'm giving you different directions. Take the two 4"squares, one in Print B and one in Print C, and cut both of those on the diagonal so you have two half-square triangles in each print. Lay them out to match the picture, alternating B and C.


Next, sew the alternating triangles with right sides together and be sure to always press to the darker print. You will now have two larger triangles that are half B and half C. Sew these two larger triangles together on the long, diagonal edge, perpendicular to the seams you just sewed when joining the alternating B and C half-square triangles. Press the seam to one side.

Square this center block down to 4 1/2", making sure you trim equal amounts from all sides so the points in the middle stay centered. When I square like that, I make sure my center is at 2 1/4" at all times, then it is centered.

Lay out the pieced blocks like the picture and sew them into rows.


Press the seams of the top and bottom row towards the center of the block. Sew the seams in the center row towards the outer edge of the block. This will allow the final seams to lay much smoother. Match the seams of the top row with the seams of the center row; stitch in place. Repeat for the center and bottom row. Now you can press your completely finished block!

Friday, June 18, 2010

CHURN DASH


CHURN DASH QUILT BLOCK

This is a standard quilt block that you will find in any quilting book worth its salt. And I especially like the fact that it is always called the same thing: Churn Dash.

You will need just two colors—a light (color A) and a dark or medium (color B). Always use scant ¼” seam allowances when sewing these quilt blocks.

Fabric requirements:
Color A: (1) 4 ½” square for the center
(2) 5” square
(4) 4 ½” x 2 ½” rectangles

Color B: (2) 5” square
(4) 4 ½” x 2 ½” rectangles

1. On the color A 5” squares, draw a line from corner to corner, diagonally. With the 5” squares of colors A and B right sides together, and color A facing you, sew a scant ¼” on either side of the diagonal line. Cut on the line. Press the square open with the seam towards the dark (color B). Square all four of these to 4 ½”. Set aside.


2. Using the rectangles, sew a color A to a color B, four times. Press squares open with seam towards the dark (color B).

3. Sew one pieced half-square triangles to each side of one pieced rectangle square. Press seams towards the rectangles. These are your outer borders.

4. Sew the other two pieced half square triangles to either side of the 4 ½” square. Press the seams towards the rectangles. This is your center row.

5. With a top row and the center row, carefully line up the seams to match. Pin them in place to secure them, and sew the seam using that scant ¼” seam allowance. (Now you see why the direction of pressing is important—because the seams will line up and press nicely without bigs lumps.) Repeat with the bottom row. Press the seams towards the outer rows. Your block is complete! Easy, huh!?