I confess, I love stars! I never seem to get tired of making them. I collect ideas for new star blocks. I have made several star sampler quilts. This block is one I have made a few times. I like it because it's so easy.
You will need background fabric and three prints. Basically, we are making 8 half-square triangle blocks and one quarter-square triangle block. 
Cut out:
Print A (green corner triangles): two 5" squares
Background fabric: four 5" squares and draw a diagonal line on the wrong side
Print B (pink star points): one 5" square and one 4" square
Print C (blue floral star points): one 5" square and one 4" square

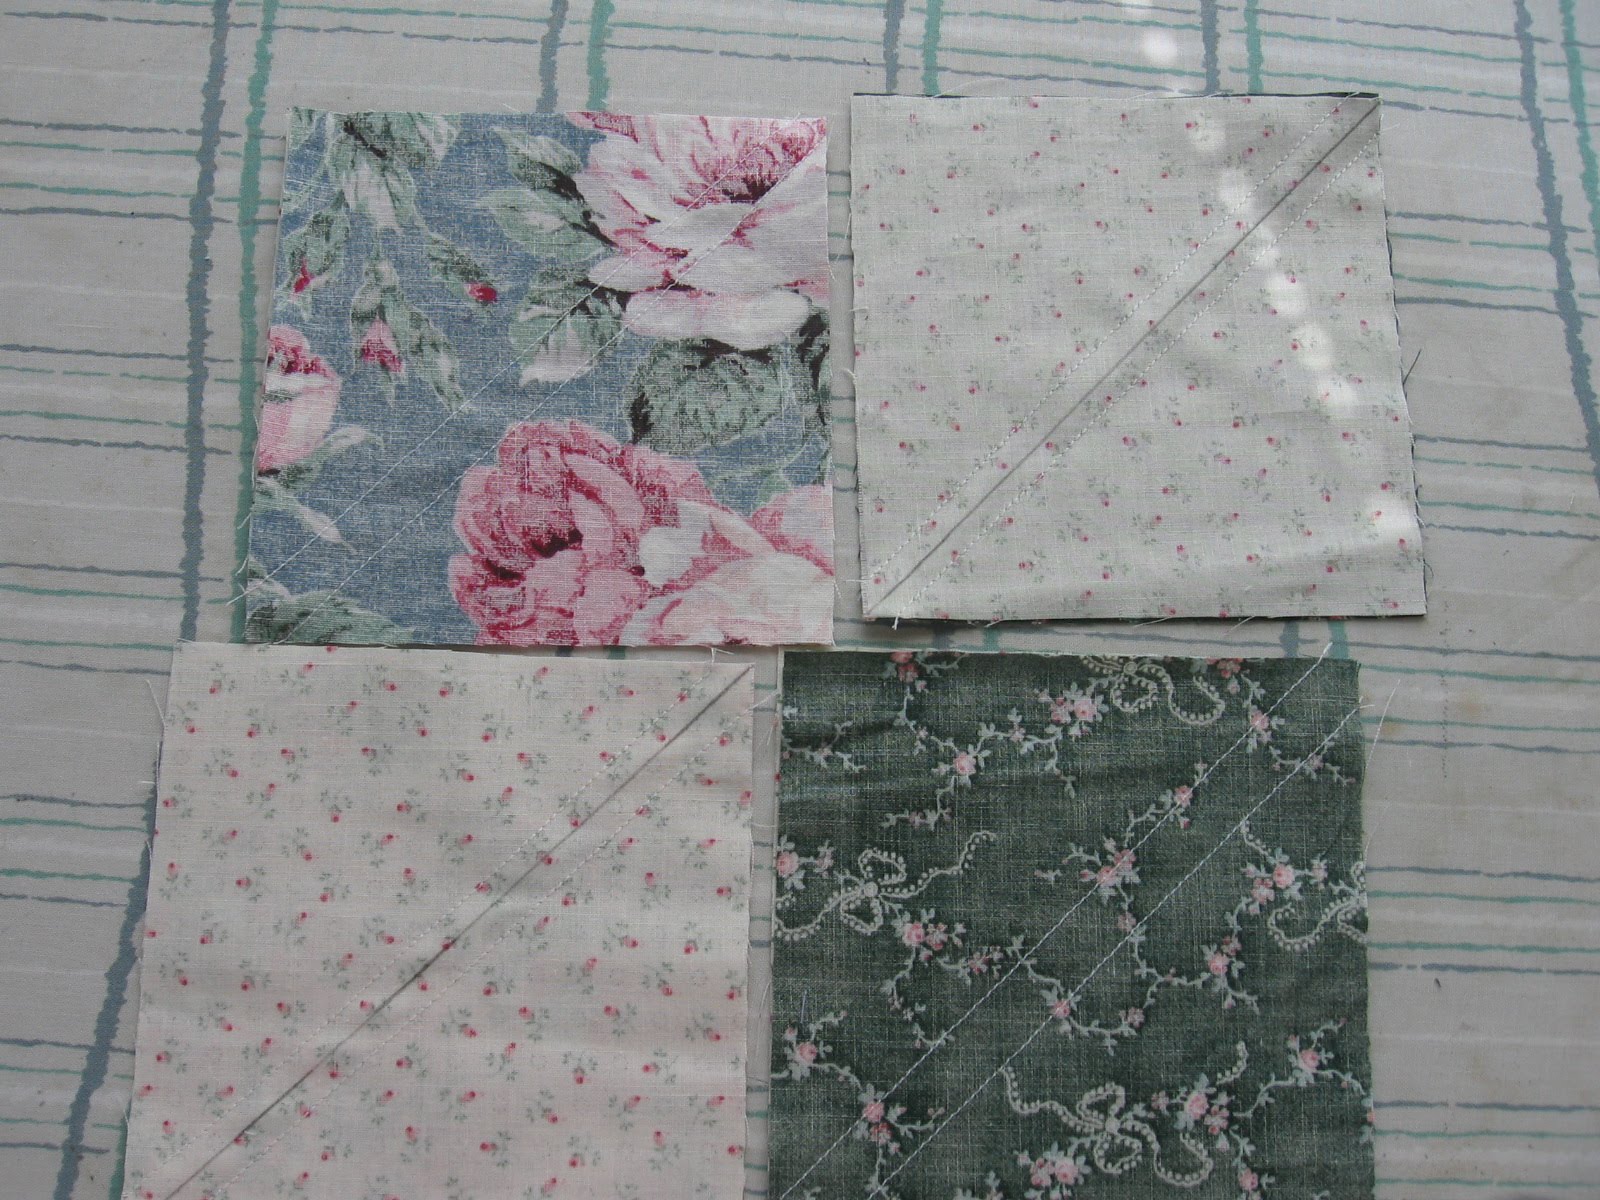
Using the 5" squares, iron right sides together: one background square to Print B and Print C, two background squares to Print A.
The center part: I confess, I tried a new method and it made two blocks instead of one, so I'm giving you different directions. Take the two 4"squares, one in Print B and one in Print C, and cut both of those on the diagonal so you have two half-square triangles in each print. Lay them out to match the picture, alternating B and C.

Next, sew the alternating triangles with right sides together and be sure to always press to the darker print. You will now have two larger triangles that are half B and half C. Sew these two larger triangles together on the long, diagonal edge, perpendicular to the seams you just sewed when joining the alternating B and C half-square triangles. Press the seam to one side.
Square this center block down to 4 1/2", making sure you trim equal amounts from all sides so the points in the middle stay centered. When I square like that, I make sure my center is at 2 1/4" at all times, then it is centered.
Lay out the pieced blocks like the picture and sew them into rows.


Press the seams of the top and bottom row towards the center of the block. Sew the seams in the center row towards the outer edge of the block. This will allow the final seams to lay much smoother. Match the seams of the top row with the seams of the center row; stitch in place. Repeat for the center and bottom row. Now you can press your completely finished block!